


The Ultimate Design & Build Brand Shoot Guide
A professional brand shoot for your design and build business should showcase more than just finished projects. It should capture the full scope of your expertise, process, and brand personality. This guide ensures you walk away with a powerful collection of images for your marketing, website, and social media.
Location Planning
The right setting will reinforce your brand’s expertise and professionalism. Consider the following locations:
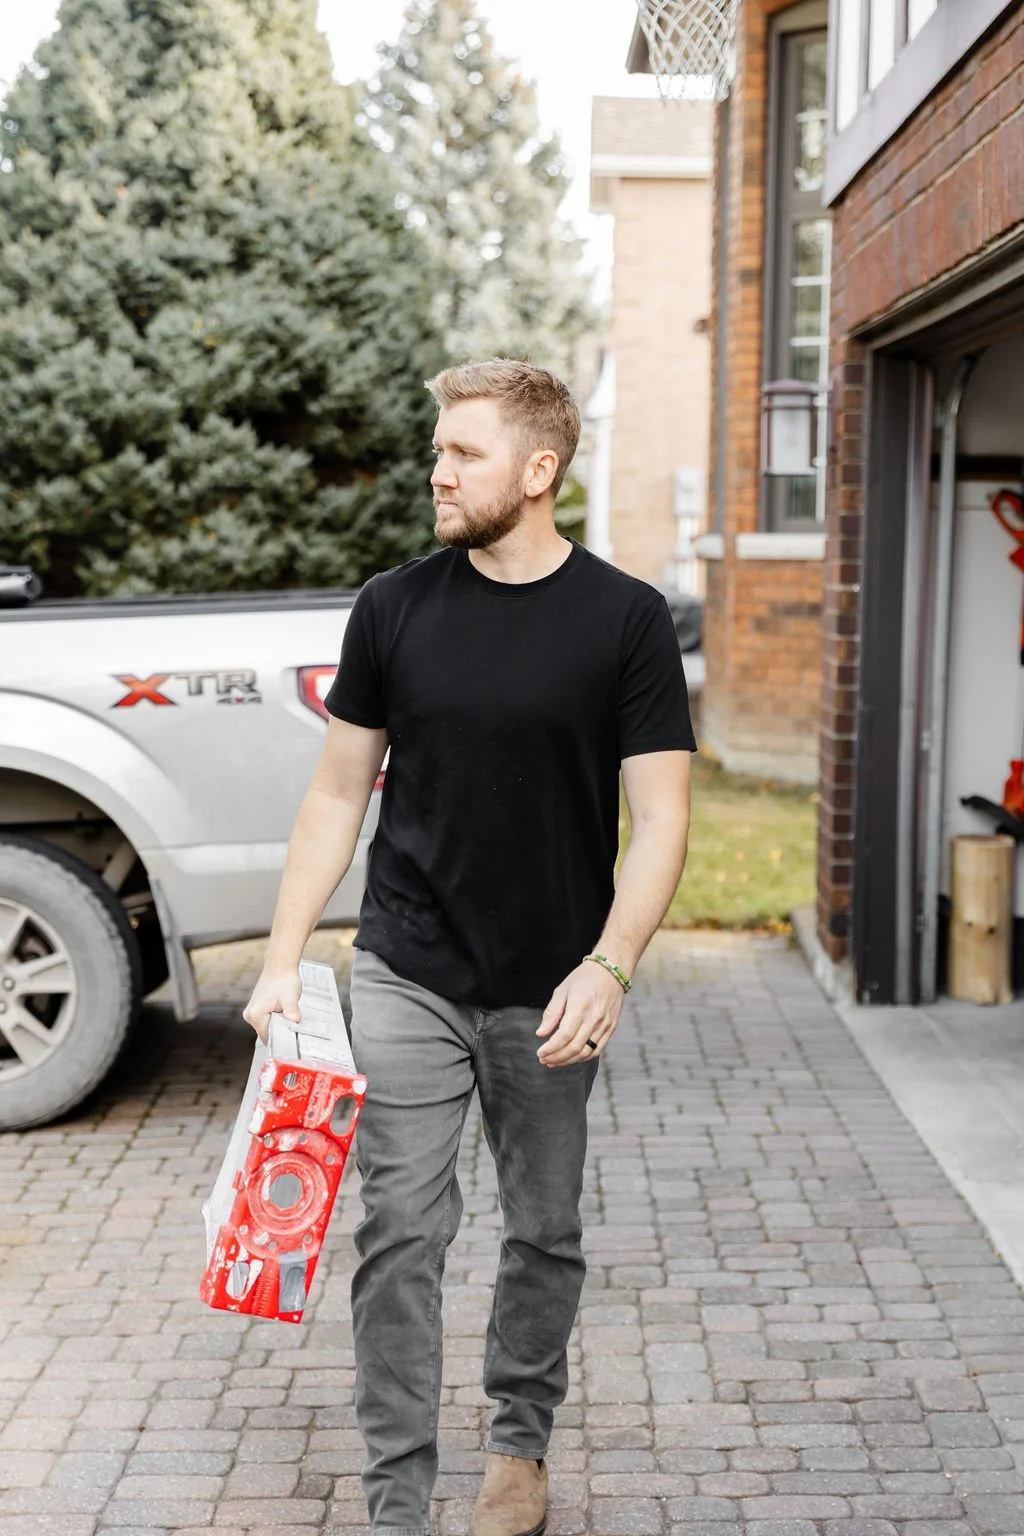
Active Job Sites – Show work in progress, from framing to finishing touches.
Completed Projects – Highlight beautifully finished interiors, exteriors, and key design details.
Photography Studio - Often the best choice for most industries, a studio offers great natural lighting, minimal distractions, and a neutral backdrop that keeps the focus on you and your brand.
ACTIVE JOB SITE


PROPS
What to Bring
To ensure a well-rounded and engaging shoot, pack these essential items:
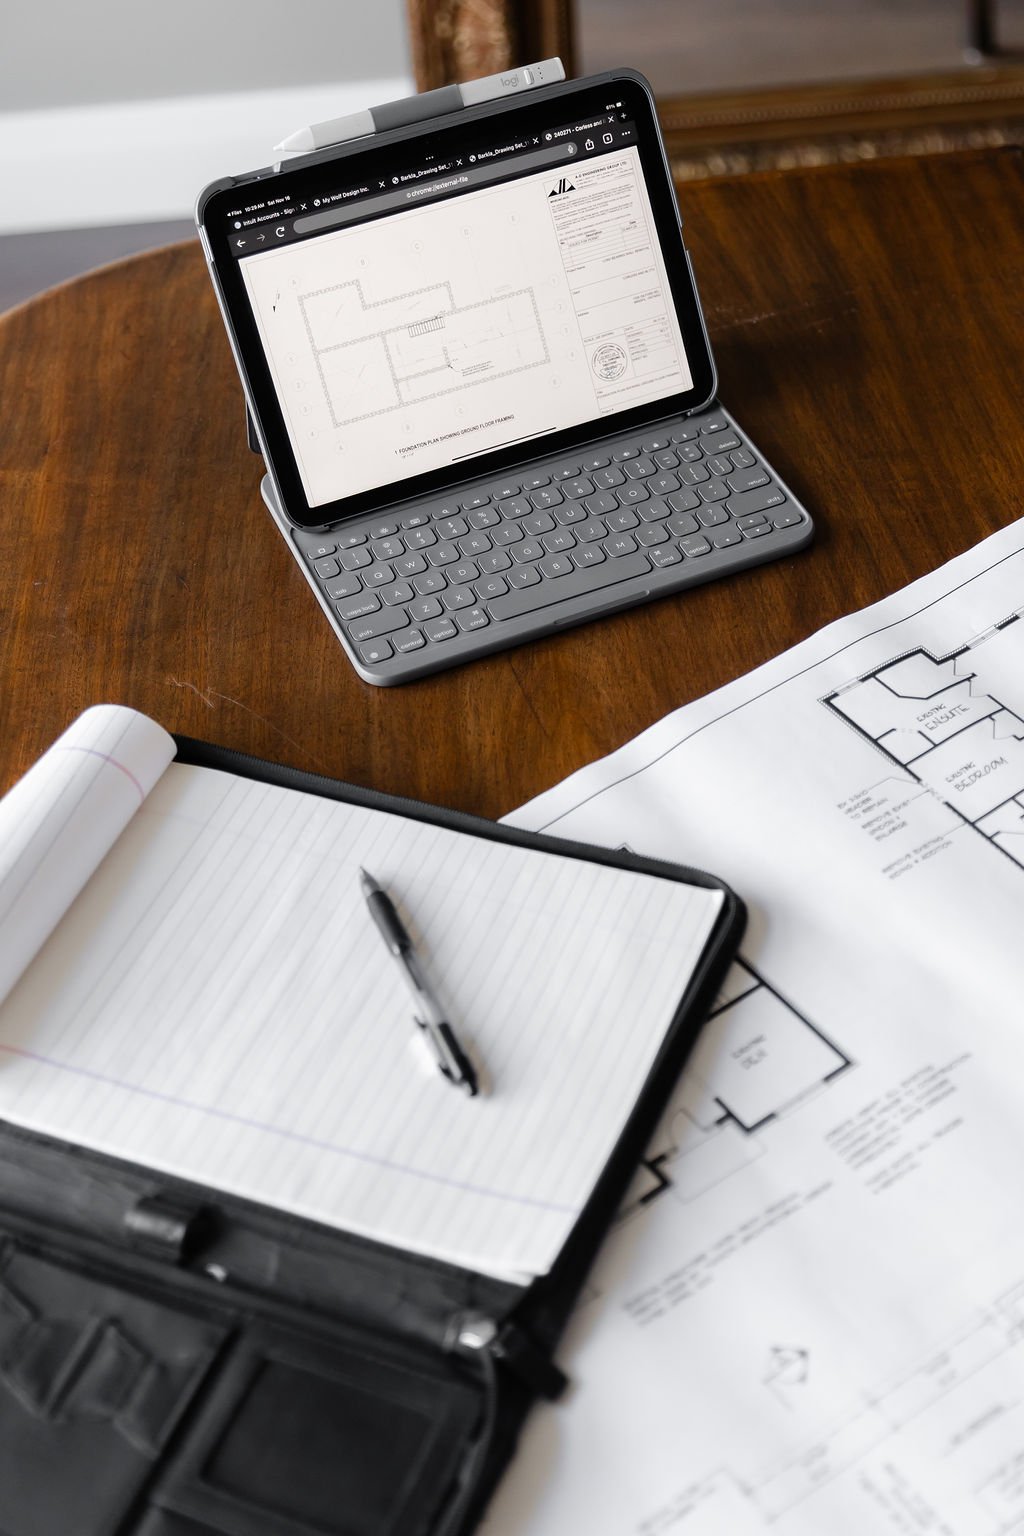
Blueprints & Sketches – Showcasing plans and concepts in action.
Material Samples – Tiles, wood, countertops, swatches—anything you use to design a space.
Tech Tools – Laptops, tablets, measuring tools, and project management software.
Construction Equipment – Helmets, safety gear, power tools, and work-in-progress shots.
Brand Collateral – Business cards, brochures, signage, or branded apparel.


WARDROBE
Wardrobe & Styling Tips
Your team should look polished but authentic to the industry. Keep these guidelines in mind:
Colours – Stick to your brand colours.
Branded Workwear – Logo-embroidered shirts, safety vests, or construction jackets.
Safety Gear – Helmets, gloves, and boots for job site shots.
Polished but Practical Styling – Clean, well-fitted attire that represents your level of professionalism.
Ensure your clothes are free of wrinkles, stains and marks.


SHOT LIST
Must-Have Shots
A strong shoot should include a mix of action, process, and final product images.
In-Action & Process Shots
Reviewing blueprints or digital plans with a client
Hands-on design work (sketching, selecting materials, using software)
Construction in progress—framing, installing, or detailing
Behind-the-scenes team collaboration
Close-ups of hands working with tools, measuring, or drafting


Project Showcase
Wide shots of completed spaces (interior and exterior)
Styled vignettes of key design features
Before & after transformation shots
Detail shots of finishes, textures, and craftsmanship
Exterior curb appeal and landscaping elements


Team & Brand Personality
Candid moments of the team working together
Headshots with an on-brand background
A group photo in front of a finished project or office
Authentic, behind-the-scenes moments


Pro Tips for a Successful Shoot
Declutter the Space – Ensure job sites and completed spaces are clean and styled.
Plan Your Shot List – Work with your photographer to ensure every key aspect is covered.
Think About Versatility – Capture images that can be used for various platforms.
Use Consistent Lighting – Natural light is ideal, but soft professional lighting works well too.
Incorporate Brand Colours & Elements – Subtle brand elements in clothing, materials, or signage create a cohesive feel.
Pinterest is an amazing resource for inspiration when planning your shoot. Take a peek at our board here and we encourage you to create your own.

WHO TO HIRE
When selecting a photographer please ensure the following;
They are a BRAND photographer
Their approach to shooting matches with the location of choice (ex. if they are a natural light photogapher does your location have natural light?)
You have reviewed their portfolio and their style matches your brand
Do not worry if they aren’t available “asap” - we would prefer you wait for quality vs picking based on availability
Want to run your options by us? We would be happy to take a look and provide our feedback!
NOTES FOR PHOTOGRAPHER
Capture both vertical and horizontal images (your client requires all orientations for their marketing)
Capture all the types of shots listed above (not all headshots!)
Marketing will require various shots, angles, close ups, etc. (variety is key)
Save the files the client business name (ie. My Wolf Design not: “MWD”, “image12345”)
Images for web use should be no bigger than 10MB
Providing client with both High res at 3600px and up and web size at 1024px is critical
Please share with the client expected final file delivery timeline
Please ensure number of edits are adequate to complete the project (shot amounts provided in this guide)